
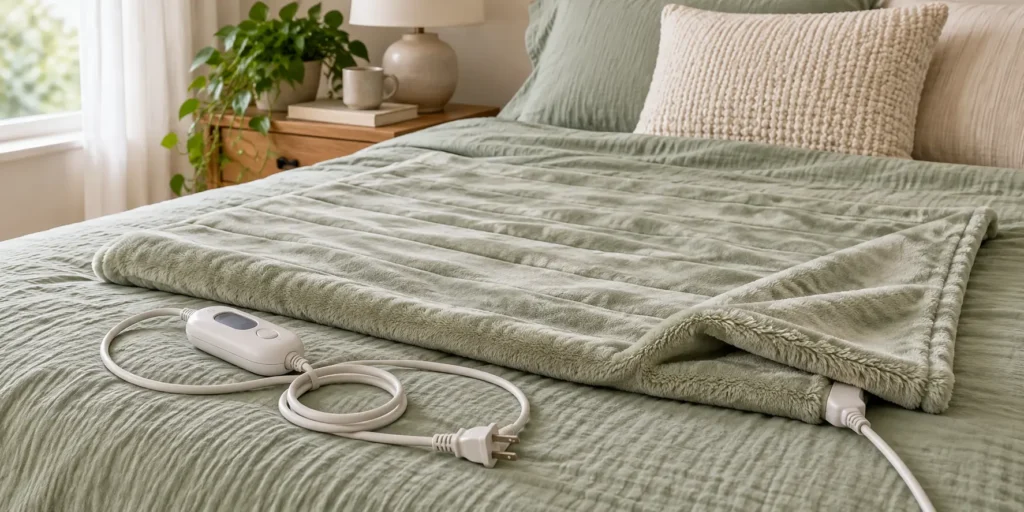
How to Inspect a Heated Blanket Cord and Controller
Reviewed and updated: October 24, 2026
A careful inspection before use can reveal damaged plugs, stressed cords, loose connectors, stiff fabric, or controls that no longer behave normally. Do the check while the blanket is unplugged and cool.
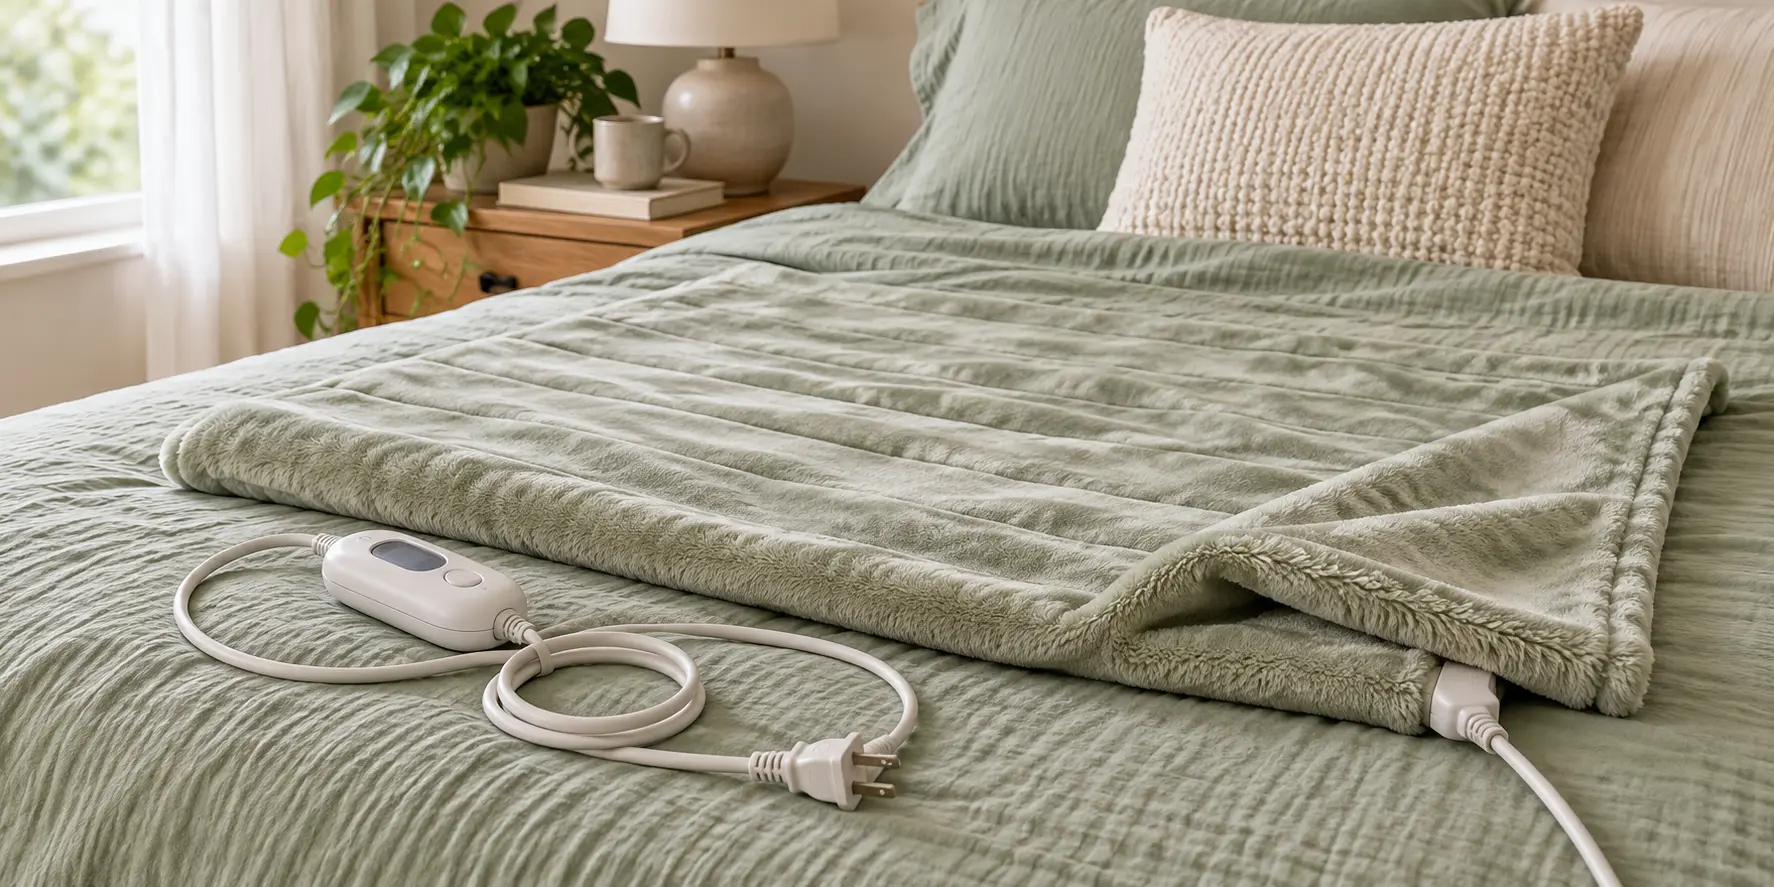
Begin unplugged
Spread the blanket on a dry, well-lit surface and disconnect it by holding the plug. Do not power questionable equipment merely to see whether it heats. Make this part of a repeatable routine: check the starting condition, follow the relevant instructions, and record what changed. That keeps how to inspect a heated blanket cord and controller grounded in observable results instead of assumptions or a single unusually good or bad experience.
Examine the wall plug
Look for bent blades, dark marks, melting, looseness, or a cracked body. A plug that has been hot or fits loosely in an outlet needs qualified attention. Verify the exact label, model, material, or setting before acting. Small differences in a package or environment can change the right method, so change one variable at a time and stop when condition, comfort, or safety gives a reason to stop.
Follow the cord
Run fingers lightly along the unplugged cord without sharply bending it. Retire equipment with cuts, flattened areas, exposed conductors, or damaged strain relief. A useful decision should still make sense on an ordinary day. Prepare the workspace, keep the process simple, and review the result before repeating it. Careful notes are more dependable than memory when products, conditions, or schedules change.
Check every connector
Detachable controller connectors should seat cleanly without force, debris, corrosion, or looseness. Never substitute a controller that simply appears to fit. Make this part of a repeatable routine: check the starting condition, follow the relevant instructions, and record what changed. That keeps how to inspect a heated blanket cord and controller grounded in observable results instead of assumptions or a single unusually good or bad experience.
Read the controller
Buttons and displays should be intact and legible. Sticky switches, rattling parts, cracked housings, or an unreliable shutoff are reasons to stop using the blanket. Verify the exact label, model, material, or setting before acting. Small differences in a package or environment can change the right method, so change one variable at a time and stop when condition, comfort, or safety gives a reason to stop.
Inspect the fabric
Look for scorch marks, discoloration, stiff zones, bunching, exposed wire, tears, and areas that feel different. Do not fold or press the blanket sharply during inspection. A useful decision should still make sense on an ordinary day. Prepare the workspace, keep the process simple, and review the result before repeating it. Careful notes are more dependable than memory when products, conditions, or schedules change.
Review laundering history
Incorrect washing, wringing, dry cleaning, or reconnecting while damp can damage a heated blanket. Follow the exact care label and let all components dry completely. Make this part of a repeatable routine: check the starting condition, follow the relevant instructions, and record what changed. That keeps how to inspect a heated blanket cord and controller grounded in observable results instead of assumptions or a single unusually good or bad experience.
Set up for use
Keep the controller visible and the cord free of furniture, pets, and walking paths. Do not trap heat beneath another person or heavy object. Verify the exact label, model, material, or setting before acting. Small differences in a package or environment can change the right method, so change one variable at a time and stop when condition, comfort, or safety gives a reason to stop.
Know when to retire it
A damaged electric blanket is not a home repair project. Mark it unusable, prevent accidental reuse, and follow local electronic-waste guidance. A useful decision should still make sense on an ordinary day. Prepare the workspace, keep the process simple, and review the result before repeating it. Careful notes are more dependable than memory when products, conditions, or schedules change.
Put the guide into practice
Begin by writing down the result you want from how to inspect a heated blanket cord and controller. Include the starting condition, the people or equipment involved, and the limit that would make you stop. This short plan prevents an attractive feature, habit, or shortcut from replacing the real purpose. It also makes the final result easier to judge because the decision was defined before the work began.
Prepare the space and gather only what the first attempt requires. Use the checkpoints in Begin unplugged and Examine the wall plug before adding optional steps. Read current labels and instructions in full, keep packaging or model information nearby, and avoid mixing advice from products that merely look similar. When a condition changes, pause and verify rather than improvising.
During the process, make one deliberate change at a time. Note the setting, amount, timing, fit, or environmental condition that could affect the outcome. If the result is uncomfortable, confusing, damaged, or inconsistent, return to the last known safe point. More intensity, more product, or more repetition does not correct a poor match and can make the original problem harder to identify.
Use photographs, a short checklist, or a dated note when visual condition matters. The record does not need to be elaborate; it only needs to preserve the exact choice and its result. This is especially useful when several people share equipment, when packages look alike, or when weeks pass between uses. Remove old notes when they no longer describe the current item.
Finish with a brief review based on know when to retire it. Record what worked, what should change, and whether the same method still fits the next use. Store equipment and remaining products according to their instructions, clean the work area, and keep the notes with the relevant model or label. A dependable routine is simple enough to repeat and specific enough to catch a changed condition.
Quick checklist
- Begin unplugged
- Examine the wall plug
- Follow the cord
- Check every connector
- Read the controller
- Inspect the fabric
Frequently asked questions
What should I verify first?
Start with the exact product, material, person, and setting involved. Read the current label or instructions and do not apply a rule from a similar-looking item without checking.
How can I compare results?
Keep the starting condition steady, change one variable, and record the result. Repeat only when the process remains safe and the comparison answers a useful question.
When should I stop?
Stop for damage, irritation, unusual heat, odor, poor fit, confusing instructions, or any condition that makes the next step uncertain. Replace, reassess, or seek qualified help as appropriate.